REVIEW · BUDAPEST
Explore Budapest in Pictures: Guided Tour Photo Tour
Book on GetYourGuide →Operated by Solange colque · Bookable on GetYourGuide
Budapest looks great through a camera lens. This guided photo tour focuses on composition and light, taking you from iconic bridges to castle views in just 3 hours. I like the idea of getting tips matched to your level, and I like the small-group pace that helps you actually practice—not just pose. One thing to watch: there are reports of a guide no-show at the start point, so don’t just assume everyone will appear on time.
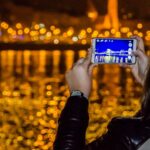
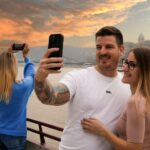
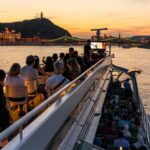
You’ll be using your phone or camera while a local Spanish-speaking guide (Solange colque) helps you frame monuments and the everyday details around them. The stop sequence makes sense if you want variety: water views, hilltop architecture, church color, and big city landmarks. The big consideration is that the tour isn’t built for everyone, and cold can be a dealbreaker if you’re sensitive to weather.
If you like learning how to shoot, not only what to shoot, this kind of tour can be a shortcut. You get practical photo coaching plus extra pictures taken by the guide. It’s a bargain price on paper, but you’ll get the most value if you’re willing to walk, look around closely, and take direction quickly.
In This Review
- Key points worth knowing before you go
- What this 3-hour Budapest photo tour is really about
- Chain Bridge to Danube views: learning framing where it matters
- Buda Castle cobblestones and Castle Quarter details
- Matthias Church: turning bright tiles and medieval shapes into photos
- Parliament of Budapest: iconic views, with dusk as a bonus
- Heroes’ Square: making statues feel personal
- Price and value: what $17 covers and what it doesn’t
- Finding the guide: umbrella meeting point and a real-world cold risk
- Who this tour suits best (and who should skip it)
- Should you book the Explore Budapest in Pictures photo tour?
- FAQ
- How long is the Budapest photo tour?
- Where do I meet the guide, and how will I recognize them?
- What language is the tour guide?
- Is a camera required?
- Are entrance fees to monuments or museums included?
- Are photos from the guide included?
- Can I cancel for a refund?
Key points worth knowing before you go
- A tight 3-hour route: Chain Bridge to Heroes’ Square without long museum detours
- Personalized photo coaching: composition and light tips tailored to your level
- Small-group attention: you get individualized prompts instead of one-size-fits-all
- Extra guide photos: additional images are taken during the tour and mailed to you
- Monuments plus details: you’ll photograph both grandeur and everyday corners
- Meet-up is visual: you’ll find the guide by an umbrella at the start point
What this 3-hour Budapest photo tour is really about
A lot of “photo tours” are just sightseeing with a camera. This one is different in its emphasis: you’re there to learn how to take better shots while you move through the city.
The promise is simple: you’ll discover how to capture the “essence” of Budapest by working on framing, light, and how to balance big landmarks with smaller textures. That matters because in a place like Budapest, the city can overpower you. Bright stone, dramatic bridges, hill views—your photos can end up looking like postcards. The coaching is meant to keep you from defaulting to the same wide shot every time.
The other practical advantage is time. At 3 hours, you’re not committing to a full day of walking and picture-taking. You’ll likely come away with a set of images you can actually refine, not just a pile of ones you’ll delete later.
One more point: the tour is described as friendly and relaxed, with small groups and individualized attention. That’s the right setup for people who are not confident yet—especially if you’re still figuring out how to use your camera settings or just want a better eye for what to include.
You can also read our reviews of more guided tours in Budapest


Chain Bridge to Danube views: learning framing where it matters
The tour starts at Chain Bridge, described as offering elegant architecture and panoramic views of the Danube River. This is a smart first stop. Big bridge geometry is a natural place to practice because you can see your lines immediately—bridge edges, the river band, and the way the city sits in the distance.
What you’ll be doing here is less about “stand here and click” and more about how to structure your photo:
- How to place the bridge so it’s the star, not an accidental background.
- How to manage bright contrast between sky, river reflections, and stone.
- How to choose a viewpoint that gives you a clean horizon and less visual clutter.
If you’re using a smartphone, this is still useful. You can apply the same framing ideas by switching between wide and tighter views, then adjusting your position until the shot feels intentional.
A tip to keep in mind as you start: don’t aim for maximum coverage. Aim for a photo that tells a story in one glance: bridge, river, and a hint of the city’s presence.
Buda Castle cobblestones and Castle Quarter details
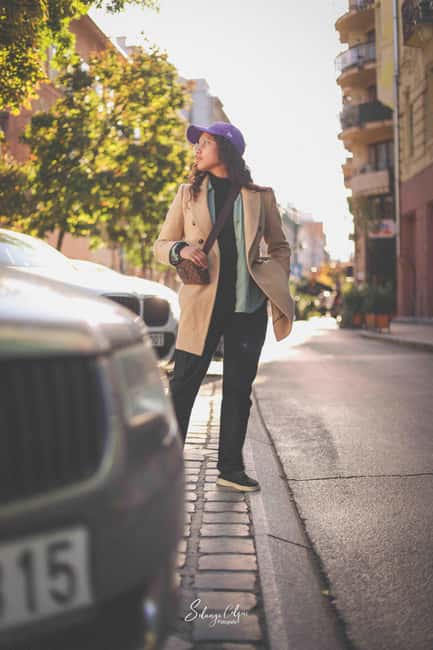
Next you head to Buda Castle, with cobblestone alleys and spectacular city views. This part is where the tour can really pay off for everyday photographers, because castles are easy to photograph at first glance—but hard to photograph well without flattening the scene.
Cobbles, stone walls, and alley angles reward “moving your feet.” The coaching here is meant to push you beyond the obvious viewpoints:
- Try different angles so the alley leads the eye into the frame.
- Use light to highlight texture, not just brightness.
- Look for moments where grand views meet human scale.
Then you “lose yourself” in the Castle Quarter streets, focusing on architectural details like gates and colorful house facades. This is where you’ll practice a different skill than the bridge: finding composition in smaller elements. Instead of building a photo around a single monument, you build it around shapes, colors, repeated patterns, and small contrasts.
If you’re the type who only shoots wide views, you’ll probably end up pleasantly surprised by what you notice when someone directs you to look for details. And if you’re already good at details, you’ll still benefit from structured prompts that keep you from wandering without a plan.
One note for your expectations: there are no museum or interior promises here. The experience is mainly about what you can capture around the famous areas, plus optional entries if you choose them yourself later.
Matthias Church: turning bright tiles and medieval shapes into photos
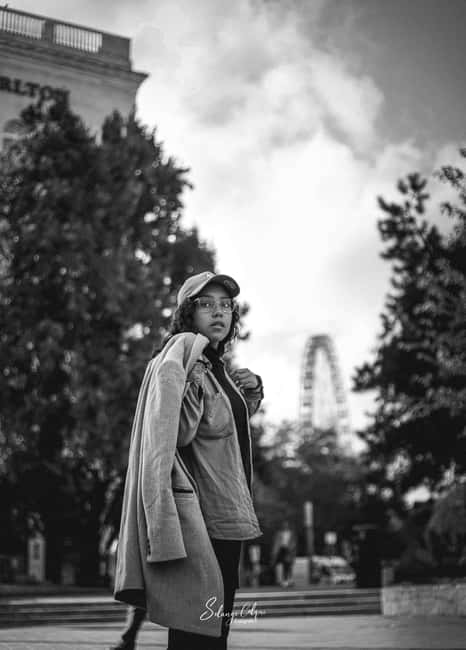
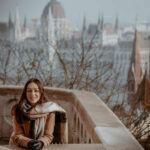
At Matias Church, the draw is the brightly tiled ceiling and its medieval history. Even if you don’t go inside, the building’s look gives you plenty to work with, especially for color and pattern.
What makes this stop useful from a photography standpoint is that the scene can be visually busy. Tiled ceilings, stone edges, and surrounding architecture can fight for attention. That’s where the tour’s composition coaching matters: you’ll be learning how to frame big shapes while keeping the shot readable.
Think in layers:
- A bold “headline” element (the church itself)
- Then a smaller focal point (a tile pattern, edge, or color transition)
- Then the context (street or surrounding architecture that tells you where you are)
If you do enter and pay an entrance fee, that part is on you. The tour description is clear that entrance fees are not included, and some interior experiences may require paying separately.
Also, because this is a photo tour, timing matters. You’ll want to be ready to shoot quickly and adjust as people move through. The coaching is meant to help you get those “half-second” chances without feeling rushed.
Parliament of Budapest: iconic views, with dusk as a bonus
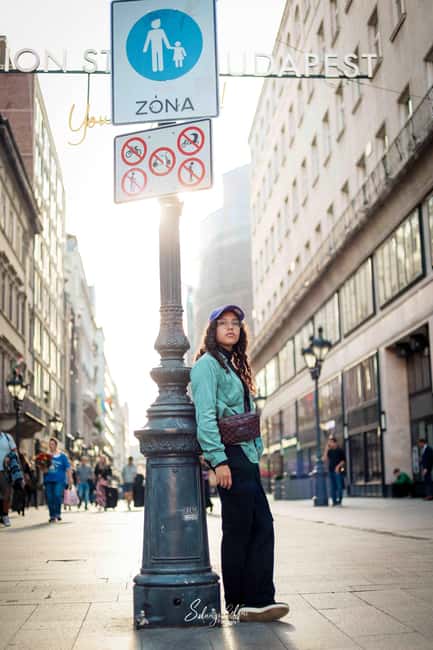
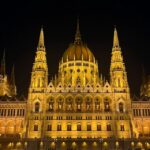
The route continues to the Parliament of Budapest, described as one of Europe’s most iconic buildings. You’ll have a chance to capture it by day, and at dusk if conditions permit—soft light is supposed to highlight the Gothic details.
This is a great stop for photographers who want to practice a classic skill: photographing a landmark in different light. Daylight gives you clarity and structure. Dusk (when it happens) can give you gentler contrast, which often makes stone carvings and architectural lines easier to pick out.
A practical way to approach this stop is to decide what you want your “main subject” to be:
- The building’s vertical lines and symmetry.
- Or the relationship between the building and its surroundings (sky, reflections if visible, atmosphere).
Because the tour is only 3 hours, you don’t have infinite time to recompose. That’s actually good. It forces you to get one or two strong versions instead of 20 average ones.
Also, transportation between more remote points is included “if necessary.” So don’t worry if your feet get tired early. You’ll likely have some help keeping the route moving efficiently.
You can also read our reviews of more photography tours in Budapest


Heroes’ Square: making statues feel personal
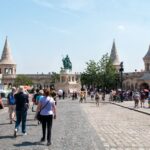
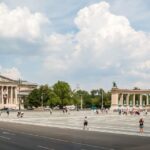
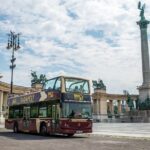
The tour ends at Heroes’ Square, full of history and known for its statues and monuments. This final stop is where your photo skills need to “snap together.”
Landmark photography at this stage is easy to mess up in a predictable way: you shoot a wide shot that records everything, but nothing feels like it has a focal point. The goal here is to perfect your technique, which in practice usually means:
- choosing a focal subject among the statues,
- using framing to avoid turning the photo into a cluttered collage,
- and managing lighting so faces, stone edges, and details are visible.
If you’ve been practicing all tour—bridge lines, alley angles, church color—then Heroes’ Square becomes a test. Can you apply composition ideas when the scene is grand and complex?
Even better, this end point is a place you can keep using after the tour. If you want, you can return later with your notes and try again. Having a guide teach you what to notice first makes your follow-up shots much easier.
Price and value: what $17 covers and what it doesn’t
The price is listed at $17 per person for a 3-hour guided session. That’s a low number, and it usually means you’re paying mostly for guidance, not for access.
Here’s what’s included that genuinely adds value for most photographers:
- a professional photo tour guide with local experience (Solange colque),
- personalized advice and tips tailored to your level,
- small-group attention,
- access to exclusive locations and unique angles for photos,
- additional photos taken by the guide and mailed to you,
- additional materials to improve your photography skills,
- and local transportation if needed between more remote points.
What’s not included is also clearly stated:
- meals and drinks,
- entrance fees for museums or monuments,
- and any camera or professional equipment rental.
So the value question becomes: do you want help learning to see and shoot, and do you like the idea of getting extra photos afterward? If yes, $17 is a solid deal for a coaching-style tour. If you mainly want transport and scenic stops without instruction, you might find better value elsewhere.
Also, because the tour is Spanish-speaking, the personal coaching will land best if you’re comfortable with Spanish at least enough to follow instructions. If you don’t speak Spanish, you can still shoot, but your learning might be limited.
Finding the guide: umbrella meeting point and a real-world cold risk
The meeting point is designed to be simple: the guide is recognized by wearing an umbrella. In theory, that’s great for fast meet-ups. In practice, it matters because this is an outdoor, walking-focused experience.
There have been reports of trouble with the guide not showing up at the start point, including people waiting for a long time in severe cold. I’m not going to scare you out of it, but I am going to help you stay smart.
Here’s how to protect your time:
- Show up early, not on time.
- If you don’t see the umbrella and a guide, contact the provider using your booking info right away rather than waiting in silence.
- Wear proper cold-weather gear if you’re visiting in winter, because the tour description specifically warns it’s not suitable for people with a cold.
And yes, this is where bringing a charged smartphone and a camera makes sense. If plans shift or you need to regroup, you’ll have tools ready and you’ll be less stressed.
Who this tour suits best (and who should skip it)
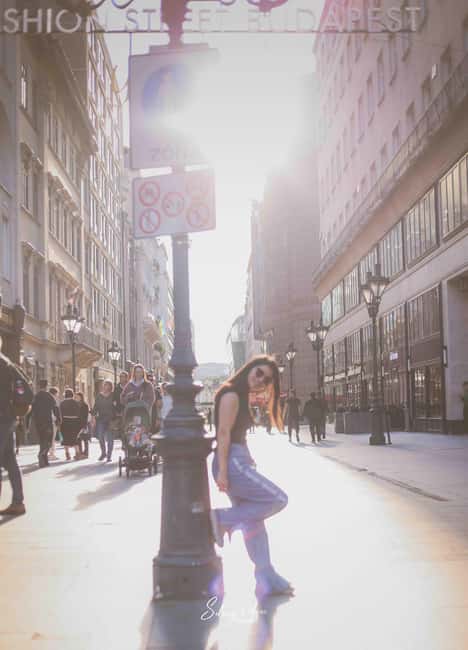
This experience is built for people who want better photos, not just a sightseeing lap. It works well if you:
- like learning how to frame shots and manage light,
- want a small group so the guide can give individualized prompts,
- and appreciate a relaxed pace with practical instruction.
It’s also a good fit for Instagram-style shooting in the positive sense—meaning you want clean composition and strong angles, not random snapshots.
But it may not be for you if:
- you’re dealing with cold sensitivity or you’re not ready for outdoor walking,
- you need an experience that’s easy for certain mobility situations,
- you’re relying on hearing or vision accommodations, since the tour is listed as not suitable for those needs.
That doesn’t mean you can’t enjoy Budapest. It means this specific format may not meet your needs.
Should you book the Explore Budapest in Pictures photo tour?
If you want a structured photo walk through Budapest’s most photographed spots—and you’ll actually use the coaching—this can be a good value. The inclusion of additional guide photos and tailored advice makes the low price feel more believable than some generic tours.
But I’d book with your eyes open. Because there have been reports of no-show at the meeting point, don’t treat this like a guaranteed handoff the moment you arrive. Get there early, be ready to message quickly if the umbrella isn’t there, and don’t gamble on luck in extreme weather.
If you’re traveling with flexibility, have warm layers (especially in winter), and you’re excited to practice shooting skills rather than just hunt landmarks, you’re likely to enjoy it.
FAQ
How long is the Budapest photo tour?
It lasts 3 hours.
Where do I meet the guide, and how will I recognize them?
You meet at the designated start point, and you’ll recognize the guide because they are wearing an umbrella.
What language is the tour guide?
The live tour guide speaks Spanish.
Is a camera required?
A camera is recommended, and you’re welcome to bring both cameras and cell phones.
Are entrance fees to monuments or museums included?
No. Entrance fees are not included, and you’ll decide whether you want to enter places with paid access or just photograph from outside.
Are photos from the guide included?
Yes. The guide takes additional photos during the tour, and they will be mailed to you.
Can I cancel for a refund?
You can cancel up to 24 hours in advance for a full refund.
If you tell me your travel month and whether you’re using a phone or a camera, I’ll help you plan what to focus on at each stop so you get the strongest results.