REVIEW · BUDAPEST
Street photography with your smartphone, tour of Budapest
Book on GetYourGuide →Operated by Luigi Cantel · Bookable on GetYourGuide
Smartphone photos, but make them Budapest.
This one-day tour turns a normal walk into street photography practice with a guide who knows where to stand and why. I like the mix of specific photo coaching plus hands-on city wandering, not just sightseeing. One thing to consider: it’s an outdoor route, and the start time can shift with the weather, so plan to stay flexible.
You’ll spend about an hour and change moving through the city, stopping repeatedly to try ideas and adjust on the spot. The upside is you leave with images that feel intentional, not accidental. The main drawback is simple: entry tickets to landmarks aren’t included, so if your goal is to photograph inside big-ticket sights, you’ll need to plan those separately.
In This Review
- Key takeaways before you go
- Why Budapest works so well for smartphone street photography
- The value of paying $16 for a guided photo + drone experience
- Starting at Fővám tér 5: where the tour begins and why it matters
- Liberty Bridge stop: classic view, smarter positioning
- Central Market Hall (Great Market Hall): texture, crowds, and controlled chaos
- Kalvin Square: learn to frame people and structures together
- A quick subway/metro moment: shooting in tighter light
- Bikás Park: breathing room and a calmer photographic palette
- Drone photos and footage: why it’s more than a cool extra
- Getting your photos on your smartphone, then editing in Lightroom
- Group size and pacing: how to get good shots without rushing
- Who this Budapest smartphone photo tour is best for
- Should you book this tour? My take
- FAQ
- Where is the meeting point?
- How long is the street photography tour?
- What’s included at the end of the experience?
- Are entry tickets to landmarks included?
- Is this tour wheelchair accessible?
- Is it a private group or shared group?
Key takeaways before you go
- Smartphone-focused instruction you can use immediately, not vague “take photos” advice
- A route built for angles, from classic views to lesser-known corners
- Drone photos and video of your journey, so you get both street shots and big-sight perspective
- Quick metro/subway stop that teaches how to think about framing in tighter spaces
- Free Lightroom editing tips to make your final images look more polished
- Small-group energy with a private feel, even if you’re solo
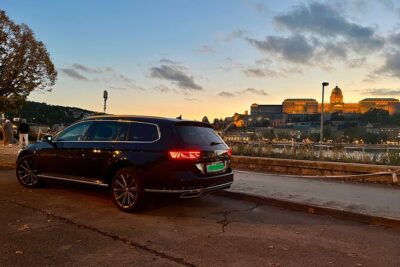
Why Budapest works so well for smartphone street photography
Budapest is basically a built-in photography cheat code. You’ve got dramatic bridges, big interior structures, and neighborhoods that shift from grand to gritty within a few minutes. For smartphone shooting, that matters because you need variety: strong light one moment, darker corners the next, and plenty of textures for the camera to latch onto.
What I like about this tour format is that it’s not one long lecture. Luigi Cantel leads you along a pre-established route, then pauses at specific points so you can practice. That structure helps you learn faster, because you try a technique right where it will show up in the frame.
Also, the tour doesn’t treat your phone like a toy. You’ll get practical ways to compose shots and use smartphone settings thoughtfully, then you’ll see how those choices affect the final look. The result is a set of photos you can actually reuse later when you travel again.
You can also read our reviews of more tours and experiences in Budapest


The value of paying $16 for a guided photo + drone experience
Sixteen dollars can sound low until you break down what you’re buying. You’re not paying only for a walk. You’re paying for:
- a guided street photography lesson tied to real stops in Budapest
- professional photos taken with a drone, plus drone footage of your journey
- photos delivered back to your smartphone by the end of the experience
- hands-on editing guidance in the free Lightroom app, if you want to finish strong
If you’ve ever tried to teach yourself street photography, you know how much time is wasted on guesswork. This tour compresses that learning into one day. You get a route with purpose and a photographer who can steer you away from common mistakes, like placing your subject in a busy area or relying on the phone’s auto mode without thinking about contrast.
So yes, the price is budget-friendly. But the better way to view it is as a fast way to upgrade your results, not just a casual activity.
Starting at Fővám tér 5: where the tour begins and why it matters

You meet in front of Starbucks at Fővám tér 5 (1056). That location is useful because it puts you close to the river area and the kind of views people usually photograph from the far side. Starting here means you’re ready to shoot soon, without a long warm-up shuffle.
And because you can agree on the starting time based on weather, you’re not locked into a rigid schedule that ignores light. In photography, timing isn’t a “nice to have.” It affects shadows, reflections, and how bright your frame looks on a phone screen.
Luigi also prefers small groups. If you’re alone, that’s fine too. That matters because street photography works better when you’re not fighting for attention or trying to keep up through crowded stops.
Liberty Bridge stop: classic view, smarter positioning
Your first major photo stop is Liberty Bridge for about 20 minutes. This bridge area is one of those places where it’s easy to shoot the postcard version and still end up with flat photos.
The coaching part is what turns it around. Luigi will guide you on how to photograph the specific point you’re standing at and—more importantly—why. In practice, that usually means thinking about:
- where the main subject sits in the frame
- how lines from the bridge guide your eye
- how to use the river and surrounding buildings without losing clarity
A short 20-minute block is perfect here. You can try one composition, then shift your stance, then try again. With street photography, small changes matter. One step left can mean cleaner lines, fewer distractions, and better balance for your smartphone lens.
Central Market Hall (Great Market Hall): texture, crowds, and controlled chaos
Next up is Central Market Hall of Budapest with another 20-minute photo stop. This isn’t only about exterior shots. Market buildings offer a lot of surfaces and patterns—doors, signage, window grids, and layers of texture that look great on a phone.
The trick is to avoid turning every frame into random clutter. Luigi’s style of teaching tends to steer you toward composition: where your eye lands first, what supports the subject, and how to keep the scene readable.
If you want photos that feel like you were actually there, this is the stop where you can catch that market atmosphere—without needing to photograph famous statues or pay for anything inside. Entry tickets to landmarks aren’t included, but you don’t need them to get strong images from a market structure.
One consideration: markets can be busy. That can be great for story shots, but you may need a little patience to get clean frames. That’s part of street photography.
You can also read our reviews of more photography tours in Budapest


Kalvin Square: learn to frame people and structures together
Your route continues to Kalvin Square for 20 minutes. Squares are where Budapest shifts from single-subject photos to “scene” photography. You’ll likely find more street activity and more visual elements competing for attention.
This stop is a strong place to practice the basics Luigi teaches—composition basics, using smartphone camera settings more intentionally, and thinking about angles. When you shoot people and buildings in the same frame, you need to decide what the photo is really about. Is it the person? The architecture? Or the tension between the two?
What I like is that the tour doesn’t assume you’re already good at this. Luigi is patient with beginners and will help you set up shots even if you don’t know your way around your phone camera.
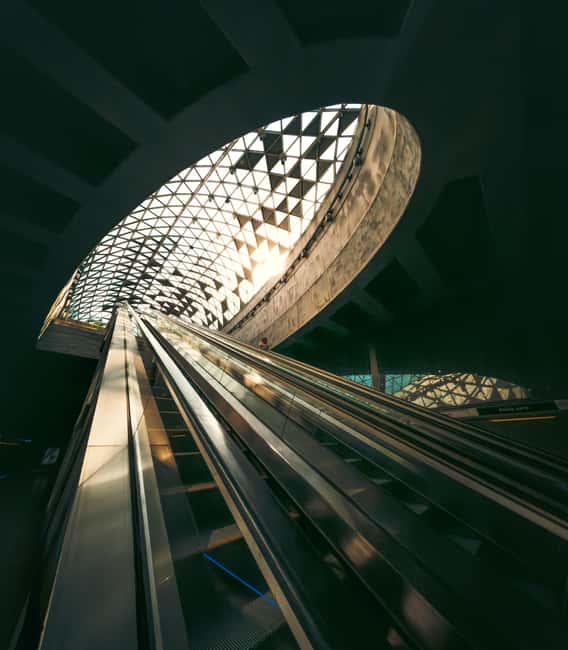
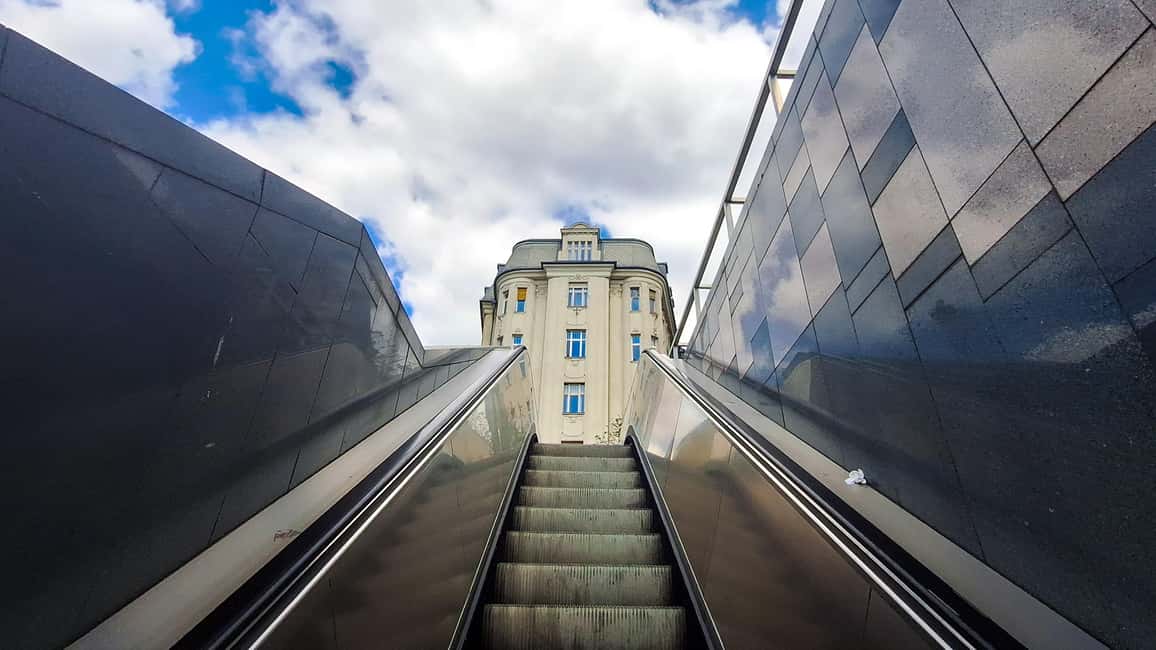
A quick subway/metro moment: shooting in tighter light
After Kalvin Square, there’s a 10-minute stop connected to the subway/metro area. Even though it’s brief, it’s a valuable segment. Metro spaces and underpasses usually mean mixed or low light, plus motion, plus tight framing.
This is exactly where smartphone habits can break you. If you use the phone mindlessly, you can end up with blurry faces, crushed shadows, or washed-out colors. A short coaching moment helps you think differently: how to steady your shot, how to meter for highlights, and how to frame with fewer distractions.
Also, these scenes add variety to your final set. A photo tour that only grabs river-and-bridge views can feel repetitive. A metro frame can add a different mood to the story you’re building.
Bikás Park: breathing room and a calmer photographic palette
Then you head to Bikás Park for another 20-minute photo stop. Parks give you something cities sometimes don’t: space. That space matters for composition because you can isolate subjects and let backgrounds simplify.
Even without a detailed lesson tied to one famous landmark here, this stop is useful because it teaches you to work with different kinds of light and backgrounds. Trees, paths, and open areas change contrast and add separation between foreground and background.
If you’re the type who gets overwhelmed by busy scenes, this is a nice reset. It gives you a place to practice cleaner frames and take a moment to review what you’ve learned so far.
Drone photos and footage: why it’s more than a cool extra
A standout part of the experience is that a professional will snap photos of you using a drone, capturing your journey. You’ll also get drone footage showing Budapest’s main sights with you in the mix.
This is valuable for two reasons. First, it creates perspective you can’t get from street level. Second, it gives you a story arc. Your smartphone photos handle the details. The drone footage adds the big-picture context.
So when you look back on your day, you don’t just have a pile of images. You have a sequence: the routes you walked, the moments you practiced, and the views that framed them.
Just keep in mind that drone results depend on conditions like weather and timing. That’s another reason the tour start time can be adjusted with weather.
Getting your photos on your smartphone, then editing in Lightroom
At the end, you’ll have your photos on your smartphone. That’s practical. You don’t need to transfer files later or wonder where your pictures went.
Luigi also shows you tricks to edit in the free Lightroom app. The key here isn’t turning your photos into something artificial. It’s about polishing what you already captured:
- adjusting exposure so the image reads clearly on a phone screen
- balancing shadows and highlights
- improving color so Budapest looks like Budapest, not grey mush
Even if you only do a light edit, your photos usually look more intentional. And once you learn the workflow once, you can reuse it for future trips. That’s where value adds up.
Group size and pacing: how to get good shots without rushing
The tour is offered as a private group, and Luigi prefers small groups. The good news is that you can still join as a solo participant. In street photography, that matters because your timing should match your learning pace. Some people need more time to practice framing. Others move faster.
The itinerary is paced in blocks: mostly 20-minute photo stops, plus a quick 10-minute subway/metro segment, and then back to the meeting point. Those time slices reduce decision fatigue. You don’t have to wonder what to do next. You just focus on getting the shot at that specific spot.
A small consideration: if you’re hoping for long free time to roam beyond the route, you won’t have much. The value is in following the route and the photo instructions. Think of it as guided practice, not open-ended exploring.
Who this Budapest smartphone photo tour is best for
This experience is ideal if you fit one of these profiles:
- You want street photography coaching but you don’t want a complicated camera setup
- You’ve traveled before and still feel like your photos could look better
- You want a guided route through Budapest that includes both well-known areas and quieter angles
- You’re curious about drone footage and want professional photos as part of your day
- You enjoy learning simple editing workflows you can reuse later
If you’re already a pro photographer with a fully manual setup, you might still appreciate the drone perspective and editing basics. But your biggest gain will be practical smartphone composition and getting quick feedback as you shoot.
Should you book this tour? My take
Book it if you want a one-day Budapest plan that teaches you how to photograph better while you’re actually walking around. The strongest reason to go is the combination of on-the-street instruction, specific stops, and a final package of photos plus drone footage. That’s more than a “hang out and take pictures” activity.
Skip it only if you expect landmark entry tickets to be included or if you want a very relaxed sightseeing day with lots of unstructured wandering. This tour is structured on purpose, so you’ll get the most value when you’re willing to follow along, try the instructions, and take a few frames more than once.
If you’re even slightly serious about improving your smartphone photos, this is a smart, budget-friendly way to do it in Budapest—guided, efficient, and made to produce results you’ll actually keep.
FAQ
Where is the meeting point?
You meet in front of Starbucks at Fővám tér 5, Budapest (1056).
How long is the street photography tour?
The duration is 1 day.
What’s included at the end of the experience?
You’ll have the photos on your smartphone, and Luigi will show you how to edit them using the free Lightroom app if you want.
Are entry tickets to landmarks included?
No. Entry tickets to landmarks are not included.
Is this tour wheelchair accessible?
Yes, the experience is wheelchair accessible.
Is it a private group or shared group?
It’s listed as a private group, and Luigi prefers small groups while still working fine if you’re alone.