REVIEW · BUDAPEST
Budapest: Walking Tour and Photoshoot with Digital Photos
Book on GetYourGuide →Operated by Richárd Várkonyi · Bookable on GetYourGuide
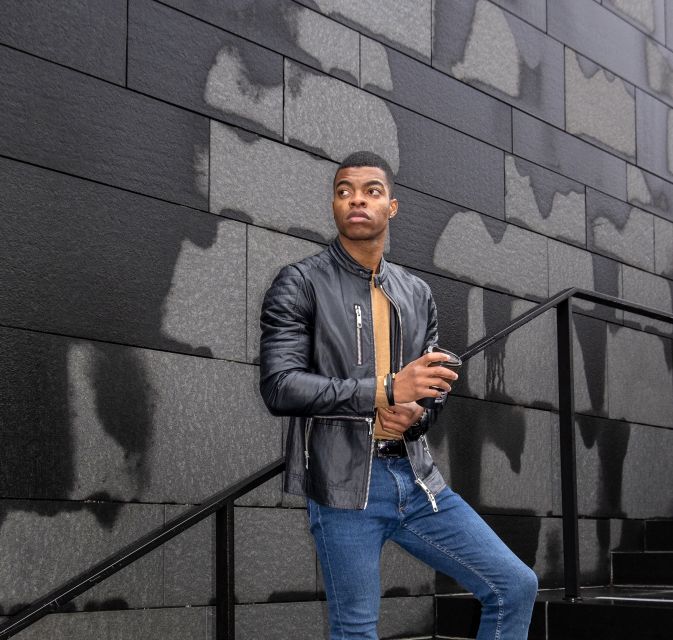
Budapest looks better when someone directs the frame. This 2-hour walking photo tour turns the usual sights into a real photoshoot, led by photographer Richárd Várkonyi, with stops around the Hungarian Parliament and the city’s best postcard angles.
I especially like the way the program mixes walking and shooting instead of switching back and forth between rigid tour mode and awkward selfie mode. You’re guided through poses and framing while still seeing key places like St. Stephen’s Basilica, Liberty Bridge, Kálvin Square, and Ferenciek Square.
One thing to weigh: it’s about 3–4 kilometers of walking over roughly 5–7 photo spots, and it’s not a fit for everyone (for example, people with motion sickness or limited mobility). Wear real walking shoes.
In This Review
- Key things to know before you book
- How this Budapest photo-walk is different from a normal tour
- Getting started at Kossuth Lajos tér and why the route matters
- Parliament, St. Stephen’s Basilica, and Liberty Bridge: the “big skyline” segment
- Kálvin Square and Ferenciek Square: where the city texture shows
- Optional route choices: Heroes Square and Vajdahunyad Castle or Great Market Hall
- Option 1: Heroes Square and Vajdahunyad Castle
- Option 2: Great Market Hall
- The photoshoot method: pose coaching, lots of shots, real feedback
- What you get afterward: unedited files, favorites, and edited delivery timing
- Price and value: does $77 for 2 hours make sense
- What to bring, and how to prepare so it goes smoothly
- Who this fits best (and who should skip it)
- Should you book this Budapest walking photo-tour?
- FAQ
- Where do we meet for the Budapest photo-walk?
- How long is the tour?
- How much does it cost?
- How many people are in the group?
- What photo deliverables do I get and when?
- What landmarks are included?
- Are there optional routes during the 2 hours?
- Do I need public transport tickets?
Key things to know before you book
- Small group, max 4 people, so you actually get attention and pose help
- 5–7 photo locations across Pest (east side), with an option to add Buda angles
- Metro option for a classic Parliament background, with specific ticket guidance
- You choose favorites after the shoot, then get edited images delivered fast
- Optional add-ons: Heroes Square and Vajdahunyad Castle or Great Market Hall
- Clear guidance for non-models, with lots of shots so you have choices
How this Budapest photo-walk is different from a normal tour

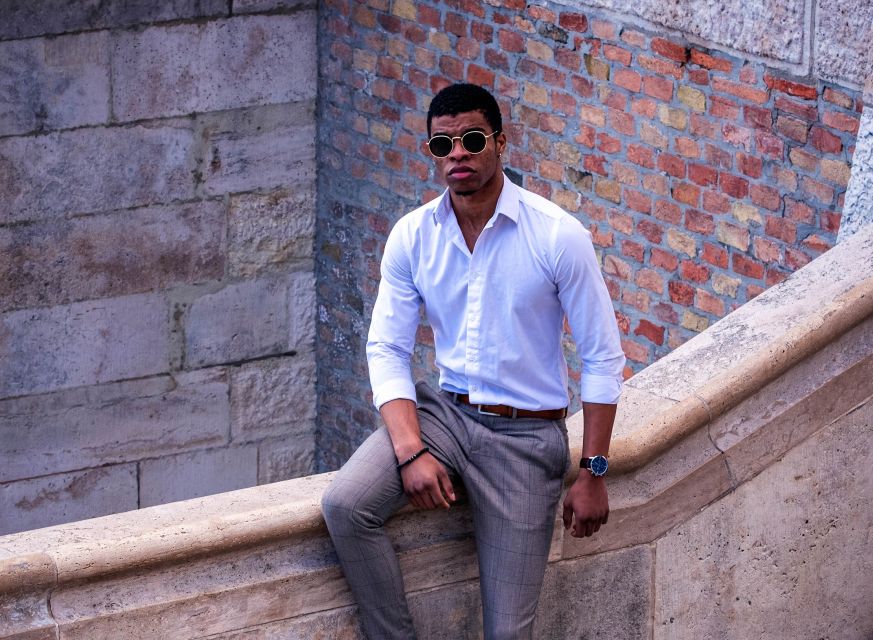
This isn’t just a sightseeing walk where you occasionally stop for a quick photo. You’re moving through Budapest with a photographer’s mindset: where the light falls, where the lines lead your eye, and how to stand so you look relaxed instead of stiff.
Richárd Várkonyi runs the show with a background in fashion and beauty photography. That matters because the “style” is not random landmark snapshots. You get direction that looks natural in real life, not forced. The best part is that you’re still sightseeing. You learn what you’re seeing while you’re also building a set of photos you’ll actually want to keep.
You can also read our reviews of more walking tours in Budapest


Getting started at Kossuth Lajos tér and why the route matters
You meet near the Hungarian Parliament area at the Kossuth Lajos tér M sign, close to the Parliament building and tram line 2. It’s a smart starting point because you’re positioned for some of the city’s most dramatic architecture right away.
From there, the default plan explores the east side of Budapest, called Pest. That keeps the flow efficient and helps you avoid wasting time on long transfers during a short 2-hour window.
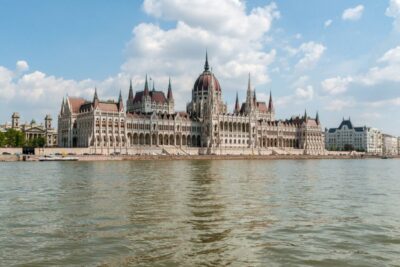
But there’s a key detail if you want that classic shot. If you’d like a Hungarian Parliament photo with the Parliament in the background from a better angle, you’ll take the metro to the west side (Buda). For that, you’re told to bring two BKK tickets (or coins to buy two tickets for 700 HUF). If you don’t care about that specific angle, you can stay on the Pest-focused route.
Practical tip: confirm your comfort with metro hopping before you go, because the tour is only two hours. Small choices like this affect how much time you’ll spend at each landmark.
Parliament, St. Stephen’s Basilica, and Liberty Bridge: the “big skyline” segment

The heart of the walk is built around Budapest’s most recognizable views. You start in the Parliament zone, then continue through a cluster of famous stops that make sense together, both visually and logistically.
Here’s what you’re likely to experience in this core stretch:
1) Hungarian Parliament area
This is where the photographer’s framing game shows up immediately. Parliament looks amazing in wide shots, but the most flattering photos usually come from angles that balance the building’s vertical lines with your position. Expect you’ll be guided to stand, turn, and move in small steps rather than just pose once and hope.
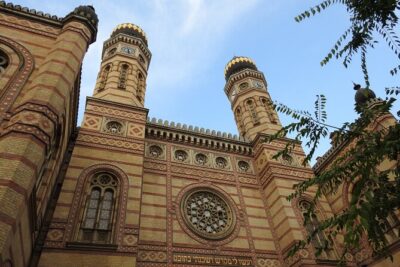
2) St. Stephen’s Basilica
Basilica is all about scale and geometry. The photographer will help you work with the tall shapes and the open sightlines so your photo looks intentional. This is also a good spot for portraits where you’re part of the scene, not just standing in front of a monument.
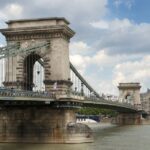
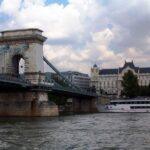
3) Liberty Bridge
Liberty Bridge is where Budapest starts looking like a movie set: water, sky, and long lines. It’s a strong place for motion-style shots too, where you’re walking or shifting position rather than staying frozen.
A small drawback: these top landmarks can attract crowds. The tour’s value isn’t that it guarantees empty streets. It’s that you get a plan for where to stand and how to shoot even when the background is busy.
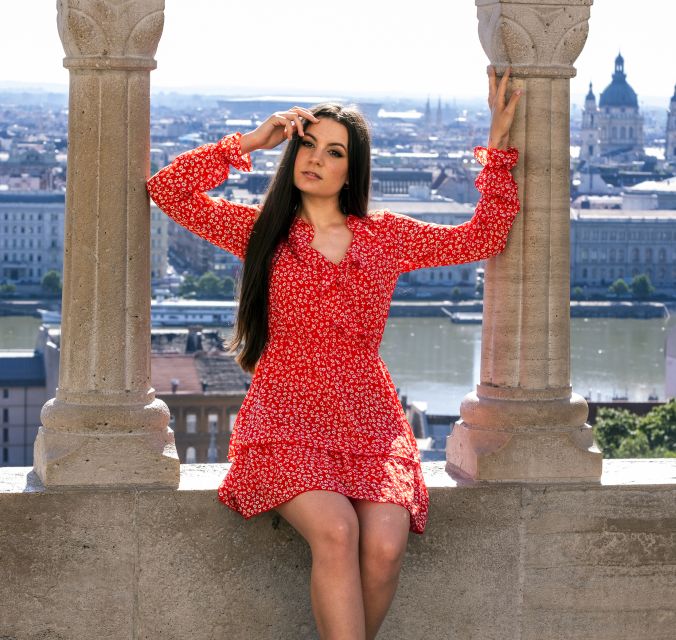
Kálvin Square and Ferenciek Square: where the city texture shows
After the big-hitter monuments, the walk includes places that give your photos more variety.
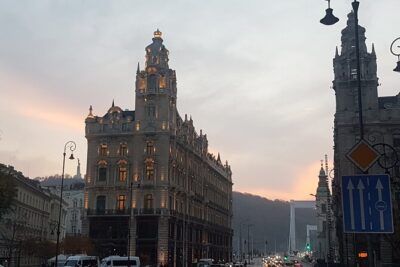
Kálvin Square brings you into the “everyday Budapest” rhythm. It’s the kind of stop where your photos can shift from pure landmark shots to street-life framing—angles that show you’re really in the city, not just visiting famous buildings.
Then there’s Ferenciek Square, known for its historic streetscape vibe. This kind of location is useful because it helps break up the photo set. If your entire gallery is dominated by grand buildings, it can feel repetitive. These squares add texture: walkable streets, architecture details, and portrait-friendly corners.
If you enjoy conversation, this is often the sweet spot. Multiple people highlight that Richárd chats as you go—history, culture, and real tips—so the walking doesn’t feel like waiting for the next photo moment.
Optional route choices: Heroes Square and Vajdahunyad Castle or Great Market Hall
Your 2-hour session has room for optional paths if timing works out. This is great because it lets you steer toward the vibe you want most.
You can also read our reviews of more photography tours in Budapest


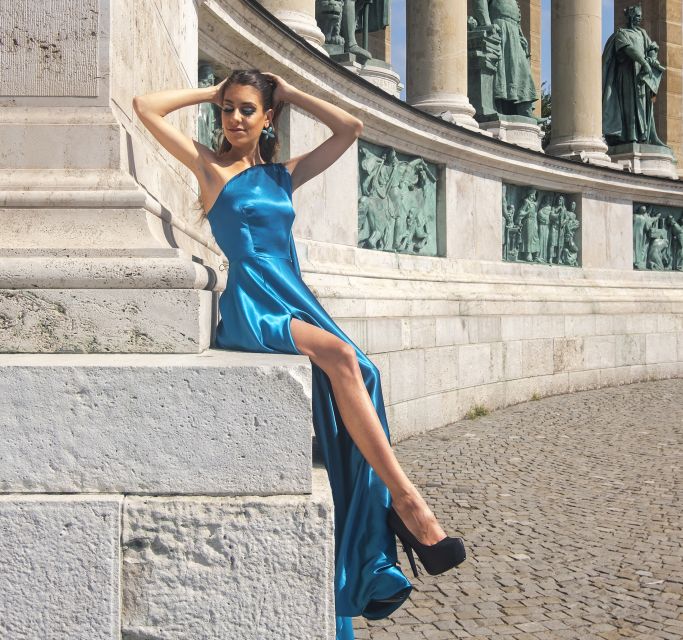
Option 1: Heroes Square and Vajdahunyad Castle
If you pick the Heroes Square and Vajdahunyad Castle route, you’re leaning toward grand, ceremonial, visually dramatic architecture. Heroes Square gives you that symmetrical, wide-open composition style that photographs well even when you’re just walking through the area.
Vajdahunyad Castle adds variety: it’s more whimsical and scene-like. For photos, that usually means more opportunities for different backdrops within a relatively small area—ideal if you want your gallery to look like multiple “chapters,” not one long hallway of monuments.
Option 2: Great Market Hall
If you choose Great Market Hall, you’re trading big monument scale for something more sensory and local. This option can be a better match if you want your Budapest photos to feel lived-in and less formal.
It’s also a strong choice if you’re the type who likes food streets and market energy. Even if the tour’s main focus is photography, market settings naturally add color and texture to your images.
My advice: choose the option that matches your main Budapest memory. If your trip is about architecture and iconic views, go Heroes + Vajdahunyad. If your trip is about flavors and atmosphere, Great Market Hall makes more sense.
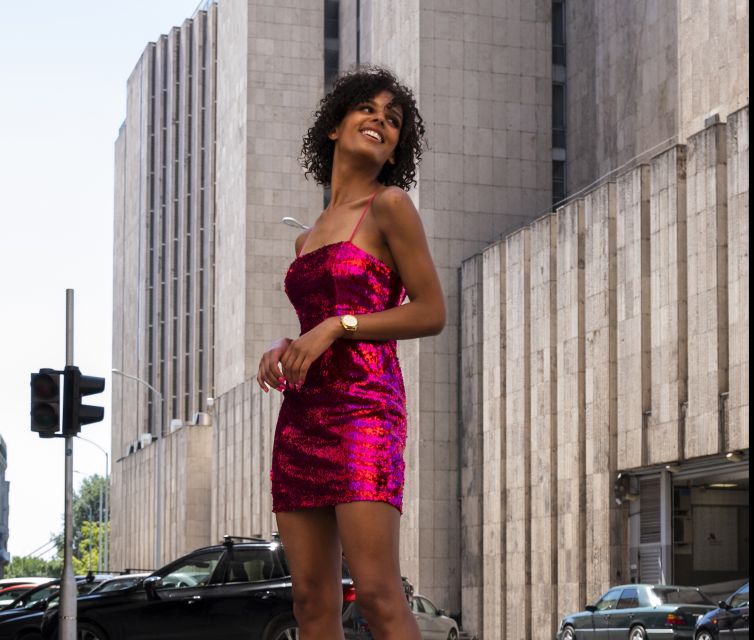
The photoshoot method: pose coaching, lots of shots, real feedback
This is the part that consistently makes people smile. You’re not left to figure out posing by trial and error.
Richárd’s approach is to guide you into positions that look natural. You’ll get direction like where to stand, how to angle your body, and how to work the scene so the photo doesn’t feel forced. Multiple guests also mention that he checks your photos during the shoot and adjusts based on what you like—so you’re not waiting anxiously for results with no control.
Another value: you’ll get plenty of photos to choose from. One big fear for people doing professional-ish shoots is ending up with a tiny number of usable images. Here, the process is designed so you can pick the ones you actually want edited.
Also, since the photographer is English and Hungarian-speaking, you don’t have to worry about being stuck with language barriers while you’re concentrating on posing and direction.
What you get afterward: unedited files, favorites, and edited delivery timing
After the tour, you’ll receive your photos in stages:
- You get all the unedited photos first, and you can choose your 10 favorites.
- Then you receive 10 edited photos within about 4 days (and the “included” description also states 10–15 edited photos in 3–4 days).
So, plan for an end-to-end experience that’s fast enough to stay excited but not so fast that everything feels rushed. In practical terms, you’ll have your edited set while you’re still planning the rest of your Budapest days or just returning home with something tangible from the trip.
If you’re hoping to print or share soon, this turnaround window is a real plus.
Price and value: does $77 for 2 hours make sense
At $77 per person for a 2-hour small-group experience, you’re paying for three things at once:
1) Professional photography time
You’re not hiring a photographer for a single static backdrop. You’re getting a plan for multiple spots—roughly 5–7 locations—where you’re directed and shot in context.
2) Editing plus guaranteed selection
You choose your favorites, and you get them edited. That turns a walk into something you can keep as a real souvenir, not just a folder of mediocre phone pics.
3) A guided route that’s optimized for photos
Even if you’re a strong DIY traveler, designing a short route with good angles and pacing is work. This gives you a pre-built system.
Is it pricey compared with a free walking tour? Sure. But it’s not competing with free. It’s closer to paying for a “best-of Budapest photo set” in a single session, without needing your own tripod, lighting gear, or a friend who can frame you correctly.
What to bring, and how to prepare so it goes smoothly
You’ll get the best results if you show up ready for walking and quick posing:
- Comfortable shoes
- Comfortable clothes for the season and weather
- Passport or ID card
- Cash (bring it even if you usually don’t)
- Public transport ticket (important since there’s an optional metro move)
Also keep expectations realistic: you’ll be walking about 3–4 kilometers. That’s totally manageable for most people, but it’s not a sit-and-sightseeing plan.
If the weather is bad, the host can reschedule or you can choose a refund. That’s a practical safety net, especially in shoulder seasons when rain and wind can ruin outdoor shooting.
Who this fits best (and who should skip it)
This experience is best for you if:
- You want better photos than phone selfies and you’re okay with someone directing you
- You like a mix of sightseeing plus a photo goal
- You want a small, personal tour rather than a large group march
- You appreciate thoughtful restaurant/café suggestions after seeing key monuments
You might reconsider if:
- You’re traveling with kids under 14
- You need wheelchair access
- You’re over 80
- You’ve had recent surgeries
- You deal with motion sickness
- You prefer minimal walking during tours
In other words: it’s a great fit for most mobile adults who want standout images and enjoy being guided. If you’re fragile physically or easily nauseous, don’t force it.
Should you book this Budapest walking photo-tour?
I’d book it if you want two things at once: a memorable Budapest walk and a gallery of photos that looks like it came from someone who knows how to frame a shot.
It’s also a smart choice for solo travelers. You’ll get plenty of images where you’re actually included, not just the buildings behind you. The small group size (max 4) means you won’t feel lost in the crowd, and the pose coaching helps even if you’re not naturally comfortable in front of a camera.
I’d hesitate only if you hate walking, you’re sensitive to motion, or you’re hoping for a passive, sit-in-a-café tour. This is active, outdoors, and photo-focused.
If you’re the “I want photos I’ll be proud to share” type, this one is a clear yes.
FAQ
Where do we meet for the Budapest photo-walk?
You meet near the Kossuth Lajos tér M sign at the Hungarian Parliament building area, close to tram line 2.
How long is the tour?
The experience lasts 2 hours.
How much does it cost?
It’s $77 per person.
How many people are in the group?
The group is limited to a maximum of 4 participants.
What photo deliverables do I get and when?
You’ll receive 10 edited photos within 4 days. The included info also states 10–15 edited photos delivered in 3–4 days. You can choose your favorites after you receive the unedited photos.
What landmarks are included?
You’ll cover major Budapest sites including the Hungarian Parliament, St. Stephen’s Basilica, Liberty Bridge, Kálvin Square, and Ferenciek Square. The program also includes 5–7 photo spots total.
Are there optional routes during the 2 hours?
Yes. If there’s time, you can choose between Heroes Square and Vajdahunyad Castle or Great Market Hall.
Do I need public transport tickets?
You’re expected to bring a public transport ticket. If you want the classic Parliament shot and the route goes to the Buda side, you’ll need two BKK tickets (or enough cash to buy two tickets for 700 HUF).